.png?width=400&height=86&name=BrainTap%20Logo%20with%20Tagline%202023%20(1).png)
Click here to download the NeuralChek software
Please note that this software is not compatible with Mac iOS or with Chrome Book. If you wish to run the software on a Mac, you must install the Parallels Desktop app and then will have to purchase the Windows 11 software licensing ($100/year). The Mac must have an M1 or M2 processor chip to effectively run these programs.
Please ensure that you have connected the pulse analyzer device to your computer via the USB cable prior to clicking on the link above to start your download. This will allow for the hardware drivers to be recognized in the same way that printer drivers require a physical connection to the computer upon initial installation.
This software works with Windows 7, 8, 10, and 11. The laptop or desktop will need a minimum of 4 GB of RAM to run the software, although 6 Gb is preferred.
Downloading on a PC
Once you click on the download link above, you will be taken to a Dropbox folder that houses the software link, and you will get the error message that your computer can’t load this file type. This is because your computer’s OS doesn’t recognize the software, and it thinks you are downloading a virus file.
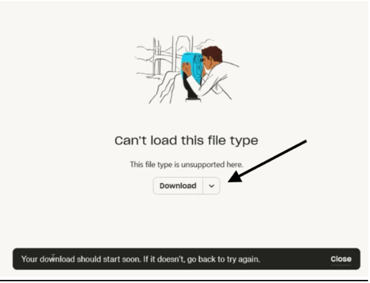
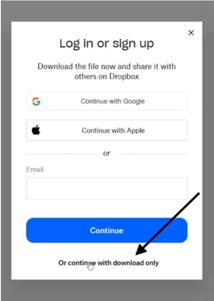
Simply click on download, shown above. If Dropbox asks you to log in, click "continue with download only" shown below:
Once the file is downloaded, double-click it to start the setup process.
On some Windows computers, you will get the following message (shown below). If you do, click on “More info”
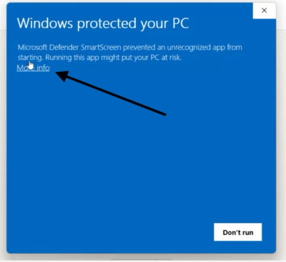
From here, you will click on “Run Anyway.”

After Successfully Downloading
Locate the small circle in the bottom right corner of the NeuralChek window. If this circle is green, it will indicate that the hardware and software are connected and communicating. If the circle is gray, it will indicate that the hardware and software are not connected. If the circle is gray close out of the program and reload it with the hardware plugged in. If this still does not work, uninstall and reinstall the program
![]()
Creating a Patient/Client Profile
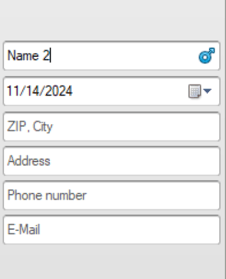
To get started, just click the “Add” button in the bottom left-hand corner of the screen.
Next, add data to the desired fields that will appear on the screen. To get the biological age information, you will need to fill in the patient/client’s birthdate. Other fields, such as address, email, etc. are not required. (To change the gender of the client, click the symbol to the right of the client's name.)
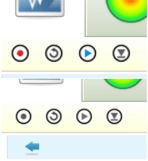
Once this information has been gathered, you can begin the scan by clicking the red dot in the circle in the top right of the program. This is where you will also click if you need to stop the scan manually. The scan will automatically stop when it gets to 300 heartbeats.
Note: If the device is not connected, this circle will appear grayed out along with the indicator circle at the bottom of the screen.
If you still have any questions or run into any issues, please contact our support.
(302) 721-6677